
Why Crate Training Matters
Crate training leverages a dog’s natural denning instinct to create a secure retreat. Properly executed, it:
Reduces separation anxiety
Aids housebreaking
Prevents destructive behaviors
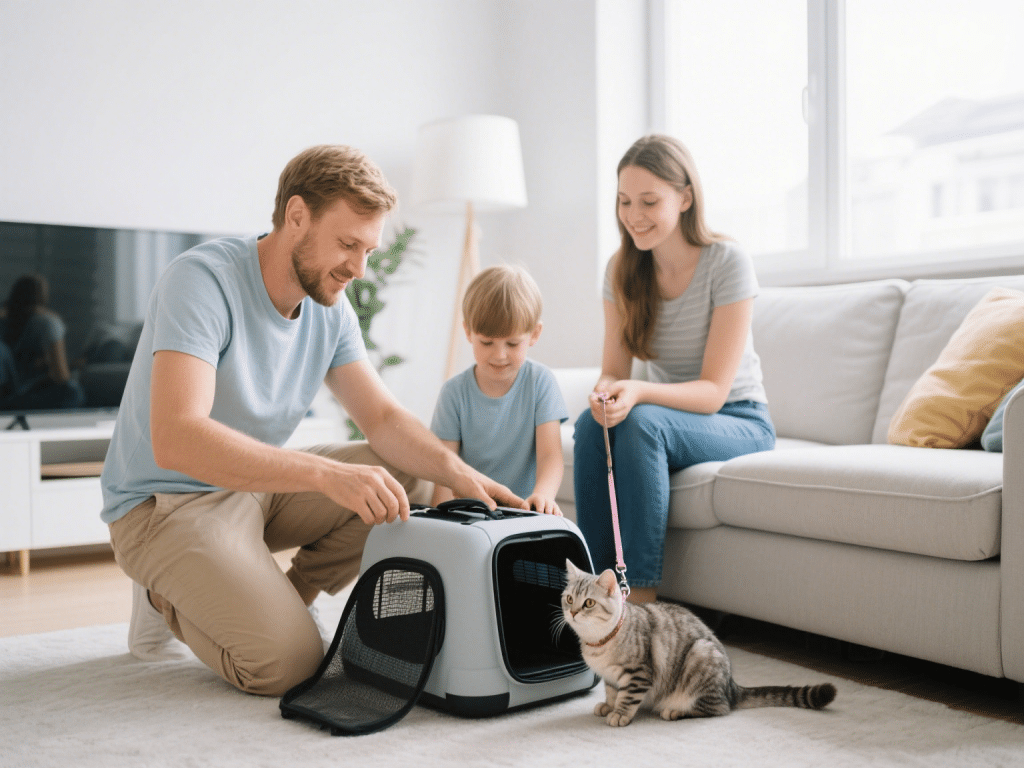
Provides safe travel containment
Facilitates veterinary recovery
Preparation: Setting Up for Success
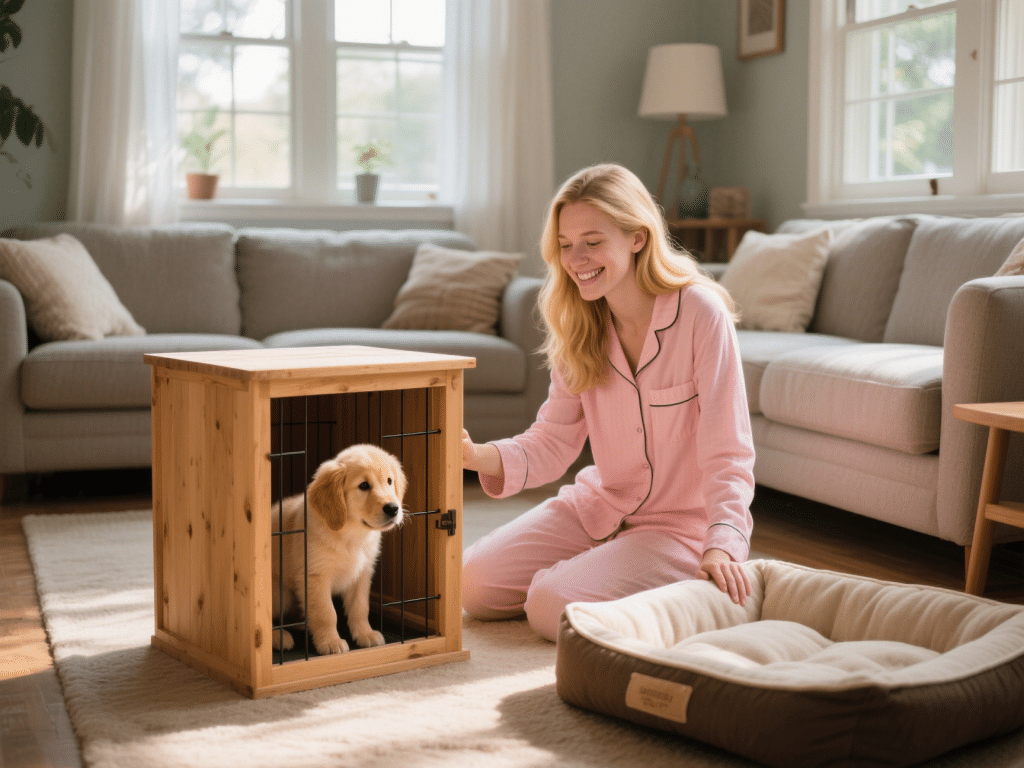
Select the Right Crate: Choose wire (best ventilation) or plastic (cozier feel). Size should allow standing/turning but not excess space (use dividers for puppies).
Strategic Placement: Position in quiet family areas - never isolation zones. Bedroom corners or living room peripheries work well.
Comfort Essentials: Add:
Machine-washable orthopedic pad
Snuggle-proof water dispenser
Chew-resistant toys (Kong filled with frozen pumpkin)
Pro Tip: Rub a worn T-shirt inside to scent-familiarize before introduction.
The 4-Phase Training Protocol
Phase 1: Crate Introduction (Days 1-3)
Door Removal: Start with crate door detached
Treat Trail: Scatter high-value treats (dehydrated liver) leading inside
Zero Pressure: Let dog explore freely. Praise calmly when inside.
Feeding Strategy: Serve all meals near crate entrance. Gradually move bowl inward.
Critical: Never force entry. Let curiosity drive engagement.
Phase 2: Building Positive Associations (Days 4-7)
Name the Crate: Use command “Place” or “Den” when they enter voluntarily
Interactive Toys: Provide puzzle feeders exclusively in crate
Duration Increments:
Day 4: Close door 30 sec during treat chewing → open before finishing
Day 5: 2-minute intervals with you visible
Day 7: 10-minute sessions with brief room exits
Reward calm behavior with “jackpot” treats (3 small pieces simultaneously)
Phase 3: Extending Alone Time (Week 2)
Departure Cues: Practice picking up keys/wearing shoes without leaving
Progressive Separation:
15 minutes (quick grocery run)
45 minutes (gym session)
2 hours (dinner out)
Camera Monitoring: Use pet cams to observe stress signals (excessive panting=reduce time)
Phase 4: Overnight Training (Week 3+)
Bedside Placement: Start with crate next to your bed
Potty Protocol:
Last water 2 hours before bed
Final potty break immediately before crating
Pre-dawn potty trip (set alarm for 4AM initially)
White Noise: Use fans or calming playlists to mask household sounds
Troubleshooting Common Issues
Problem: Whining/barking in crate
Solution:
Verify needs are met (potty/water)
Wait for 3-second quiet pause before releasing
Cover crate with breathable blanket to reduce stimulation
Problem: Refusing to enter
Solution:
Higher-value rewards (boiled chicken)
Toss treats deep inside without closing door
Try crate games: hide treats when dog isn’t watching
Problem: Panic during storms
Solution:
Add Adaptil pheromone spray to bedding 30 min prior
Use ThunderShirt anxiety wrap
Play storm desensitization tracks at low volume during meals
Advanced Protocol Notes
Mat Training: Teach “place” command on crate mat first for easier transitions
Crate Rotation: Use multiple crates in different rooms for generalization
Adolescent Regression: Retrain from Phase 2 if destructive behaviors emerge during maturity
Veterinarian Insight: Crates shouldn’t exceed 4-hour use for puppies under 6 months except overnight with potty breaks.
Maintenance & Beyond
Gradually phase out constant treats after 6 weeks, replacing with:
Random high-value rewards (variable reinforcement schedule)
Privilege-based access (e.g., crate = chew toy permission zone)
“Crate lottery” - surprise toys/applesicle treats
Transition to free-roaming by:
Using baby gates to confine to crate-adjacent rooms
Installing pet cam to monitor behavior
Increasing freedom in 30-minute daily increments
Proper crate training creates lifelong confidence. Patience during this 4-8 week investment yields calmer, safer dogs adaptable to travel, boarding, and emergencies.


Comments on "Step-by-Step Dog Crate Training Guide for New Pet Parents" :