Introduction
Regular ear cleaning is vital for preventing infections, wax buildup, and discomfort in pets. Dogs with floppy ears and cats prone to wax production require careful maintenance. This guide outlines safe, veterinarian-recommended techniques and product choices to keep your pet’s ears healthy between professional check-ups.
Why Ear Cleaning Matters
Infection Prevention: Bacteria and yeast thrive in warm, moist environments, leading to otitis externa.
Wax and Debris Removal: Accumulation of cerumen can cause itching, odor, and hearing impairment.
Monitoring Health: Frequent checks help detect foreign objects, mites, or growths early.
When to Clean Your Pet’s Ears
Weekly for High-Risk Breeds: Breeds like Cocker Spaniels, Basset Hounds, and Shar-Peis with floppy or hairy ears.
Biweekly or Monthly for Others: Short-eared dogs and most cats typically need cleaning once monthly.
Signs of Trouble: Redness, foul odor, head shaking, or excessive scratching warrant immediate attention.
Supplies You’ll Need
Vet-Approved Ear Cleaner: Choose a pH-balanced, gentle solution (e.g., ceruminolytics with lactic acid).
Clean Cotton Balls or Gauze: Avoid cotton swabs to prevent pushing debris deeper.
Towels: To wrap your pet if needed and protect clothing from solution.
Treats: High-value rewards (e.g., freeze-dried liver) to reinforce positive behavior.
Step-by-Step Cleaning Process
Prepare the Pet:
Gently restrain small dogs or cats on a stable surface; larger dogs can sit or stand.
Handle ears calmly; speak in soothing tones to reduce anxiety.
Inspect the Ear Canal:
Lift the ear flap and look for redness, swelling, excessive wax, or discharge.
If you see blood, pus, or suspect a deep infection, consult your veterinarian rather than cleaning at home.
Apply Ear Cleaner:
Hold the ear flap upright and fill the ear canal with the cleaner until it reaches the base.
Gently massage the base of the ear for 20–30 seconds to dislodge debris and wax.
Allow Shaking:
Release your hold and let the pet shake its head; this helps expel the ear cleaner and loosened debris.
Keep a towel on hand as this step can be messy.
Wipe Excess Solution:
Use a cotton ball or gauze to gently wipe the inner flap and visible ear canal.
Avoid inserting anything deep into the canal; remove only what is easily accessible.
Repeat if Necessary:
For heavy buildup, repeat application and wiping once more, ensuring not to irritate the canal.
Reward and Praise:
Offer treats and positive reinforcement immediately after cleaning to create a positive association.
Common Mistakes to Avoid
Using Cotton Swabs: Pushing swabs too deep can damage eardrum or pack debris.
Over-Cleaning: Excessive cleaning can strip natural oils and alter the ear’s microbiome, leading to irritation.
Ignoring Pain Signals: If your pet yelps or pulls away, stop and consult a veterinarian; this may indicate infection or sensitivity.
Maintaining Healthy Ears
Weekly Inspection: Check ears for odor, redness, or discharge before cleaning.
Keep Ears Dry: After baths or swims, gently dry ears to prevent moisture buildup.
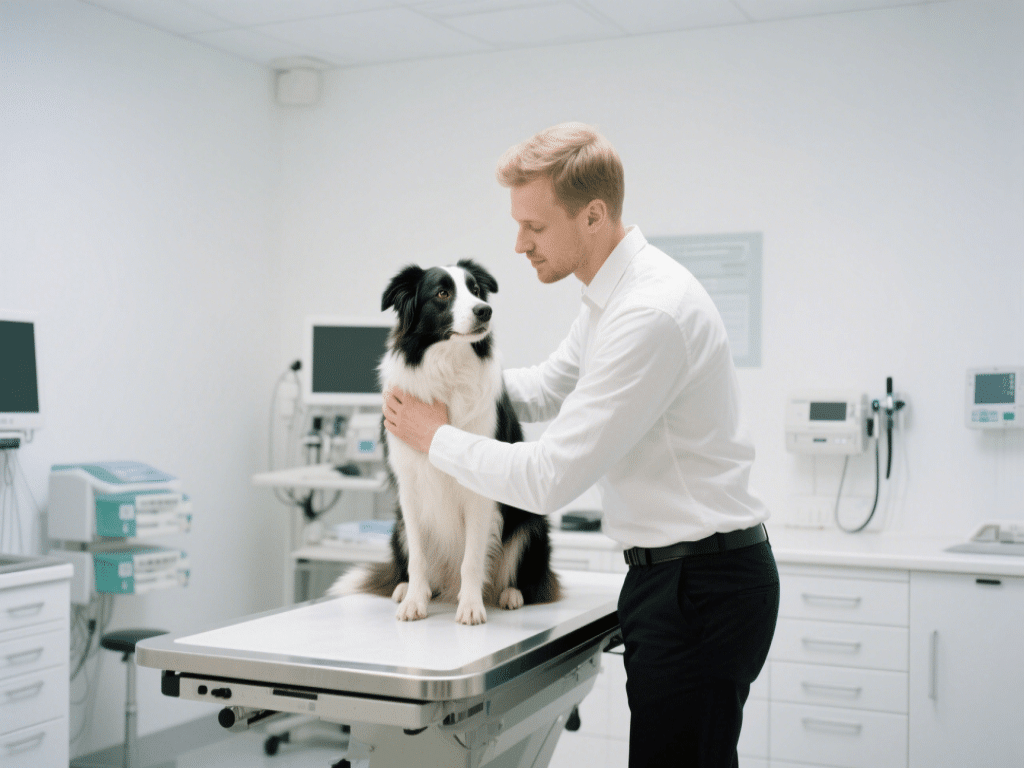
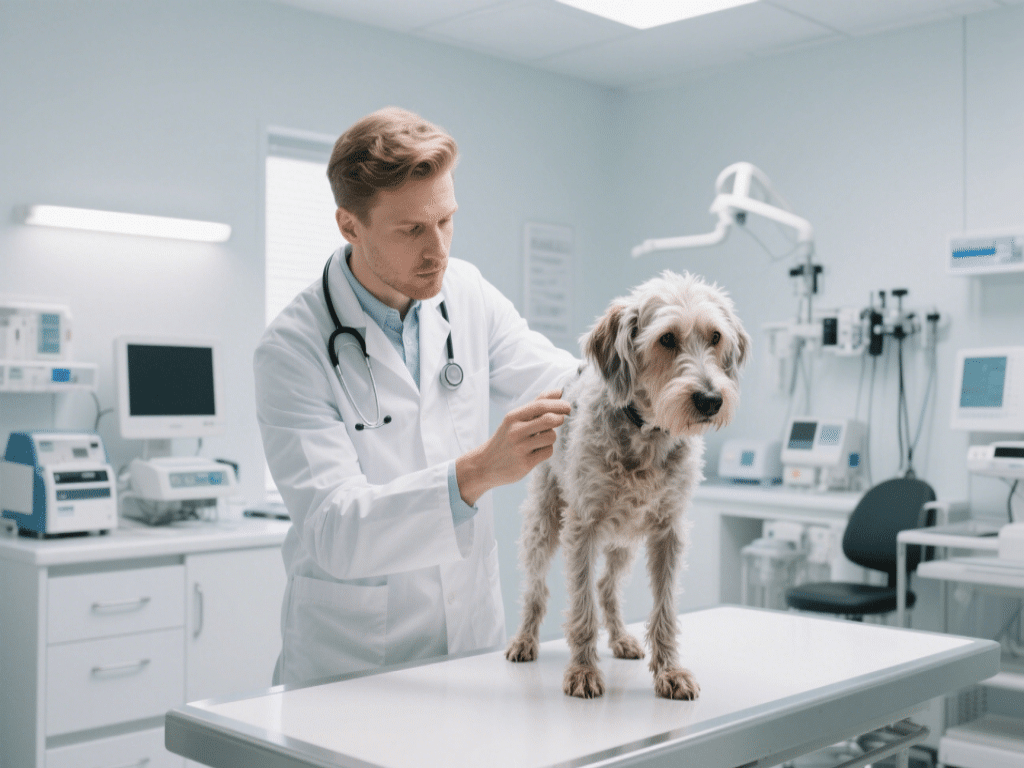
Professional Check-Ups: Have a veterinarian examine ears during annual wellness visits or if problems persist.
Conclusion
Safe at-home ear cleaning is a straightforward task that helps prevent infections and keeps your pet comfortable. By following these step-by-step strategies, using proper tools, and reinforcing calm behavior, you’ll maintain healthy ears for your dog or cat. Always seek veterinary advice if you encounter persistent issues or suspect an ear infection.





Comments on "Strategies for Cleaning Your Pet’s Ears Safely at Home" :