
Introduction
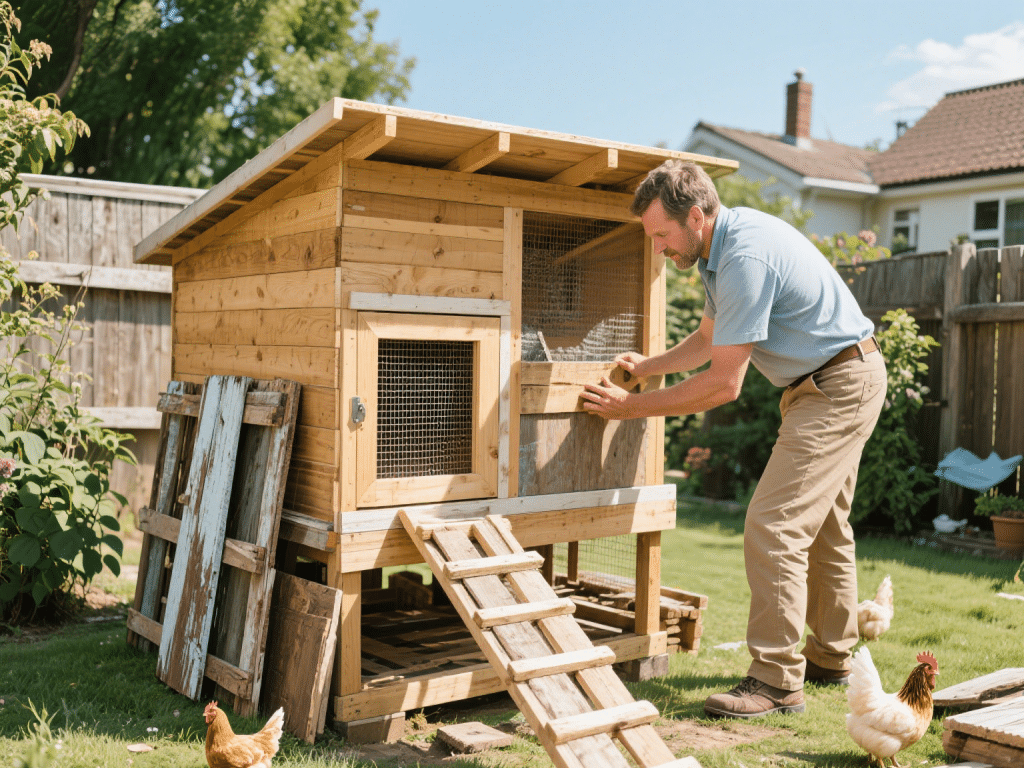
Raising backyard chickens provides fresh eggs, pest control, and companionship. Building an affordable DIY chicken coop saves money and allows customization. Follow these budget-friendly steps using accessible materials and simple tools.
1. Planning & Design Considerations
Determine Flock Size: Allocate at least 4 sq ft of indoor space per chicken; for 4–6 hens, plan a coop measuring 8×8 feet.
Local Regulations: Check city ordinances and HOA rules regarding coop size, placement, and noise restrictions.
Predator Protection: Use sturdy materials and ½-inch hardware cloth (not chicken wire) to deter raccoons, raccoons, foxes, and dogs.
2. Materials & Tools List
Primary Materials:
Pressure-treated 2×4 lumber for framing
½-inch plywood sheets for siding and roof decking
Corrugated metal panels or asphalt shingles for roofing
½-inch hardware cloth for run enclosure and ventilation
Concrete blocks or gravel for foundation to prevent rot and burrowing predators
Fasteners & Hardware: Galvanized screws, nails, hinges, latches, metal brackets, and weatherproof sealant
Tools: Circular saw, drill, hammer, tape measure, level, speed square, and staple gun
3. Foundation & Flooring
Step 1: Site Selection & Preparation
Choose a level, well-drained area with morning sun and afternoon shade.
Clear debris and mark coop corners using stakes and string.
Step 2: Foundation Installation
Place concrete blocks at each corner and midpoints to raise the coop off the ground, preventing rot and deterring burrowing.
Spread a gravel base between blocks to promote drainage.
Step 3: Floor Framing
Construct a floor frame using pressure-treated 2×4 joists spaced 16 inches on center. Secure to blocks with metal brackets.
Attach ½-inch plywood flooring to joists; seal edges with exterior caulk to prevent moisture infiltration.
4. Framing Walls & Roof
Step 1: Wall Frames
Cut 2×4 studs to desired wall height (e.g., 6 feet front, 5 feet back for sloped roof).
Assemble front, back, and side wall frames with openings for doors and windows.
Erect frames and secure to floor using angle brackets; check for level and square alignment.
Step 2: Roof Rafters & Sheathing
Install rafters (2×4) spanning front to back with at least a 12-inch overhang for weather protection.
Attach ½-inch plywood sheathing to rafters; seal seams with waterproof tape.
Step 3: Roofing Material
Secure corrugated metal panels or asphalt shingles to sheathing, ensuring proper overlap to prevent leaks.
5. Siding & Ventilation
Siding Installation: Attach ½-inch plywood siding to exterior wall frames; seal seams with exterior-grade caulk.
Ventilation: Cut vent openings near the ridge on both sides; cover with hardware cloth to allow airflow while keeping predators out.
6. Nesting Boxes & Roosts
Nesting Box Construction: Build 12×12×12-inch boxes attached to the coop’s exterior with hinged tops for easy egg collection.
Roosting Bars: Install 2×4 or wooden dowel roosts 12 inches off the floor and 18 inches apart; place roosts higher than nesting boxes to encourage nighttime use.
7. Chicken Run & Security
Run Frame: Erect posts sunk 6–8 inches into the ground at corners and midpoints to secure hardware cloth against digging predators.
Hardware Cloth Enclosure: Attach ½-inch mesh around run frame, burying a 6–8-inch skirt underground.
Access Door: Build a hinged door with a secure latch; reinforce edges with metal flashing to prevent pecking or scratching.
8. Finishing Touches
Paint & Seal: Apply non-toxic, exterior-grade paint or stain to protect wood. Avoid lead-based products.
Install Accessories: Add feeders, waterers, and grit stations. Position feeders off the ground to reduce contamination.
Predator-Proofing: Use locks and carabiners on doors and nest box lids; consider a motion-activated light or sensor for added security.
9. Budget-Saving Tips
Reclaimed Materials: Source reclaimed lumber from construction sites or Habitat for Humanity ReStores for discount pricing.
DIY Hardware Cloth Frames: Build wooden frames to hold hardware cloth securely, saving on pre-fabricated panels.
Community Giveaways: Check local classifieds, community boards, and neighbors for leftover building materials.
Conclusion
Building a budget-friendly DIY outdoor chicken coop involves careful planning, sturdy materials, and thoughtful predator-proofing. By selecting the right site, creating a solid foundation, and using reclaimed materials where possible, you’ll create a safe, comfortable home for your flock. Regular maintenance and routine inspections ensure longevity and a happy, healthy coop.


Comments on "Building a DIY Outdoor Chicken Coop: Budget-Friendly Steps" :