
Introduction
Cat trees provide essential vertical territory, scratching surfaces, and cozy perches for climbing felines. Instead of purchasing expensive commercial models, you can create custom, budget-friendly cat trees using common materials. This guide presents simple DIY cat tree plans tailored to varying skill levels.
1. Planning and Design Considerations
Assess Space and Cat Needs: Measure the ceiling height and floor area. Consider your cat’s weight, age, and activity level—larger cats need sturdier platforms, while kittens enjoy lower designs with more space to climb.
Choose Sturdy Materials: Use solid pine or plywood for platforms; 4×4 lumber posts ensure structural stability. Avoid particleboard—it may crumble under weight.
Determine Features: Decide on scratching posts (sisal rope or carpet-wrapped), perching platforms, enclosed cubbies, and hanging toys. Sketch a rough plan with dimensions.
2. Essential Materials and Tools
Materials:
4×4 pressure-treated lumber or pine posts (for vertical supports)
¾-inch plywood or laminated wood for platforms (minimum thickness for stability)
Sisal rope (1–2 inches wide) for wrapping posts
Carpet remnants or faux fleece fabric for platform covering
Heavy-duty screws (2.5” and 1.5”) and L-brackets for reinforcement
Wood glue (pet-safe, non-toxic)
Carpet staples or staple gun
Optional: Dangling feather toys, rope toys, and soft bedding for perches
Tools:
Circular saw or jigsaw
Power drill with screwdriver bits
Measuring tape, square, and pencil
Staple gun and leather gloves (for handling sisal)
Sandpaper (80 and 120 grit) for smoothing edges
3. Step-by-Step Build: Basic Single-Post Cat Tree
Cut Base and Platforms: Measure and cut a square base (18×18 inches) from ¾” plywood. Cut one or two smaller platforms (12×12 inches) to desired heights.
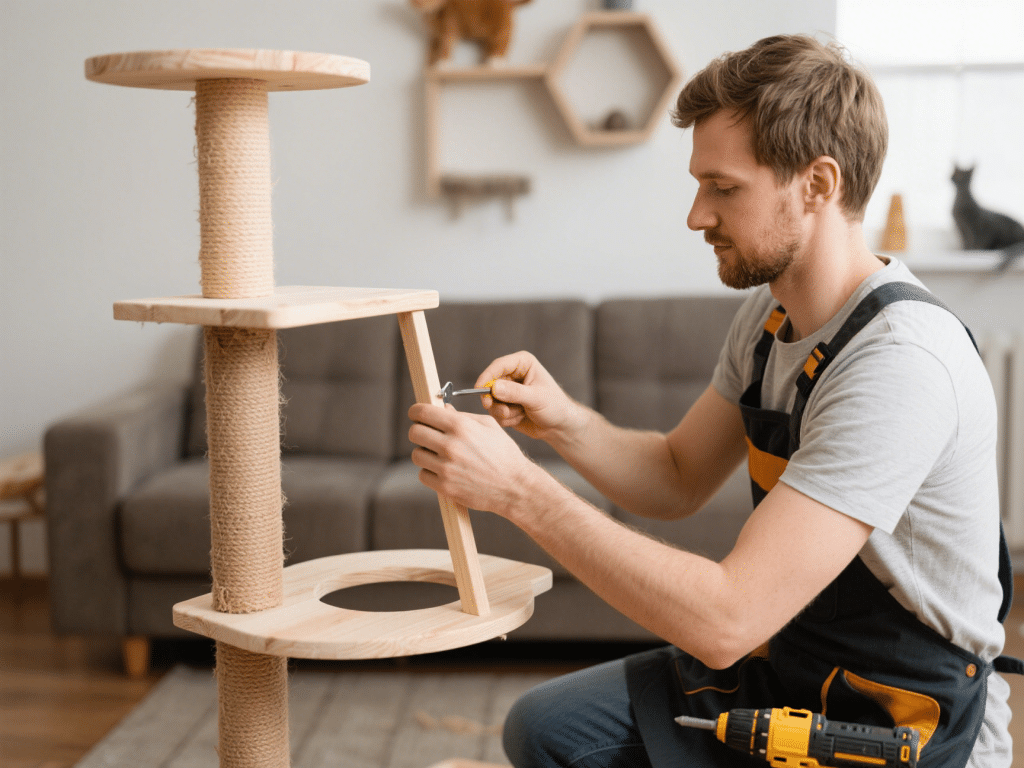
Attach Vertical Post: Center the 4×4 post on the base. Use wood glue and secure with four 2.5” screws at a 45-degree angle through the base into the post. Reinforce with L-brackets underneath.
Wrap the Post with Sisal: Secure the end of the sisal rope at the bottom of the post using a staple. Wrap tightly, spacing coils closely to avoid gaps. Staple every 6–8 inches. Trim and secure the rope’s end at the top of the post.
Install Platforms: Attach platform(s) to the post at desired heights using 2.5” screws from the underside of the platform into the post. Add L-brackets for extra support. Cover platforms with carpet or fleece: cut to size, wrap edges underneath, and staple securely.
Add Perch and Toys: Place a small cushion or folded fleece on the top platform. Hang a feather or rope toy from the underside of the top platform using a sturdy screw eye.
4. Step-by-Step Build: Multi-Platform Cat Condo
Construct a Wider Base: Cut a larger base (24×24 inches) for additional stability. Attach two or three angled 4×4 posts to distribute weight.
Design Tiered Platforms: Cut platforms of varying sizes (14×14, 12×12, 10×10 inches). Arrange them in a staggered pattern to create climbing routes.
Enclosed Cubby Option: Build a cubby box by cutting four ¾” plywood pieces (12×12 base, 12×12 back, and two 12×10 sides). Assemble with wood glue and screws, then wrap outer surfaces in carpet. Secure the cubby under a middle platform for a hideaway.
Cover All Surfaces: Wrap posts with sisal rope as in the single-post design. Cover each platform and cubby with carpet or fleece, stapling tautly underneath.
Secure Everything: Double-check all screws and brackets. Ensure no exposed staples or sharp edges remain.
5. Placement and Maintenance
Stable Placement: Place the cat tree in a low-traffic area near a window to encourage climbing and bird-watching. If wobbling occurs, add a weighted board under the base or secure to a nearby wall stud with an L-bracket.
Regular Inspection: Check for loose screws, worn sisal rope, or torn carpet. Replace or reinforce as needed to prevent hazards.
Cleaning Tips: Vacuum platforms and brushing surfaces weekly. Use a pet-safe upholstery cleaner for fabric spots.
Conclusion
Building your own cat tree allows customization to suit your cat’s preferences and your home’s decor. By using sturdy materials and following safety guidelines—proper anchoring, high-quality hardware, and non-toxic coverings—you create an enriching vertical playground. Regular inspection and maintenance ensure longevity, giving your cat a safe, stimulating environment for years.


Comments on "Simple DIY Cat Trees You Can Build at Home" :